
Step 1: Choose the Right Shirt from 5518 Designs
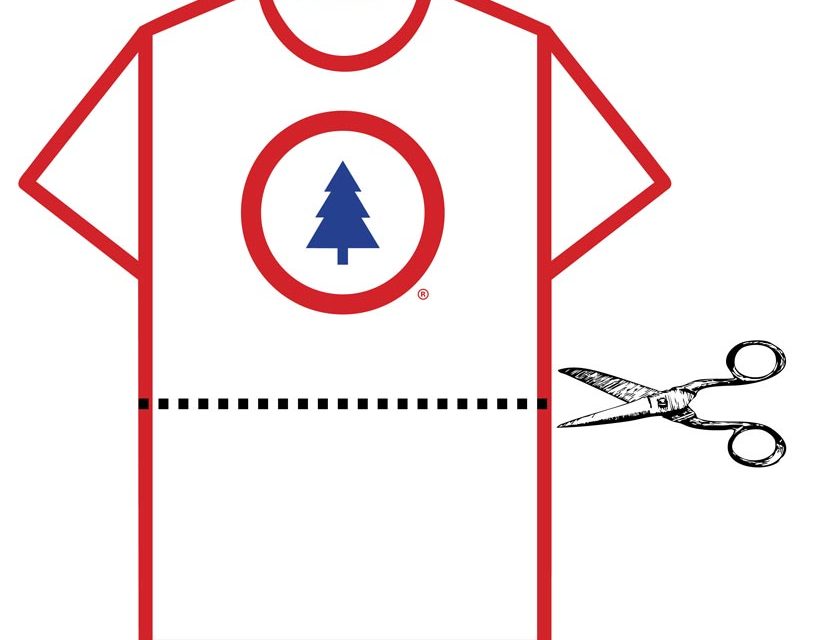
Step 2: Measure & Mark Your Lines
Tracing the edge of a ruler straight across always works, but you may still end up with a crooked line and the bottom hem of your shirt. This is why it’s best to make sure the distance from each shoulder down to the line where you plan to cut is the same on both sides. This will ensure a straight bottom hem. Remember that you can always remove more fabric, but you can’t put it back on.
Step 3: Pin Shirt in Place
You can pin the shirt in place, place something very heavy on one end so it doesn’t move around.
Step 4: Cut Along the Markings
Using sharp fabric scissors is the best way to get a crisp, clean and even cut. Work slowly so that you can be extra mindful of your cutting.
Step 5 (optional): Iron
If you are dealing with rolling, we recommend ironing your shirt.
Step 6 (not optional): Rock it!
Or… Get Creative
There are other ways to crop a shirt, beyond cutting your tee. If you’re not into permanently altering your shirt, try these: Tie in a Knot, Tie with an Elastic Hair Tie, Tucking into a Camisole or Tight Sport’s Bra.
We got you on the shirt side of things, but you be you! Stop, crop, and roll.